Garden Soil pH Testing and Amending
Soil pH Section Overview:
Soil pH
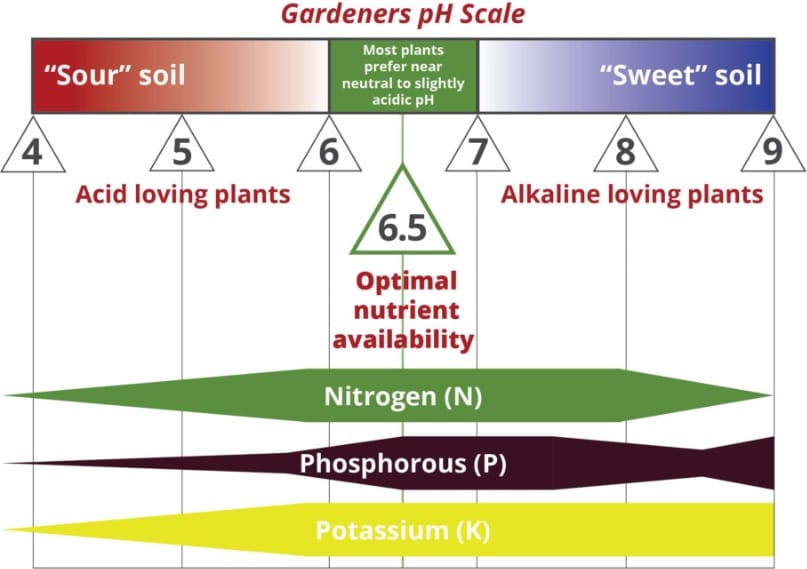
pH stands for potential hydrogen, and it can tell you a lot about your soil. For your purposes think of it as potential nutrients—pH determines which nutrients are available to plants. In fact, pH affects the microorganism activity in your soil. Soil pH determines its acidity (sourness) or alkalinity (sweetness). The lower the pH, the more acidic your soil is; the higher the pH the more alkaline it is. A pH of 7 is neutral (neither acidic or alkaline). For gardening, most plants prefer a soil pH between 6 and 7 with 6.5 being your target soil pH. Some plants prefer more acidic (below a pH of 6) or alkaline soils (above a pH of 8), but for general gardening, all that matters is that your soil not be too acidic or alkaline unless the plants you select can tolerate these conditions. Plants are very flexible with respect to pH, so long as your site isn’t near the extremes of acidity or alkalinity for the particular plants.
If your soil pH is too extreme for your plants, it creates an unhealthy environment by limiting the nourishment that is available to the plants and by weakening their natural defenses against pestilence and disease.
Soil pH Test
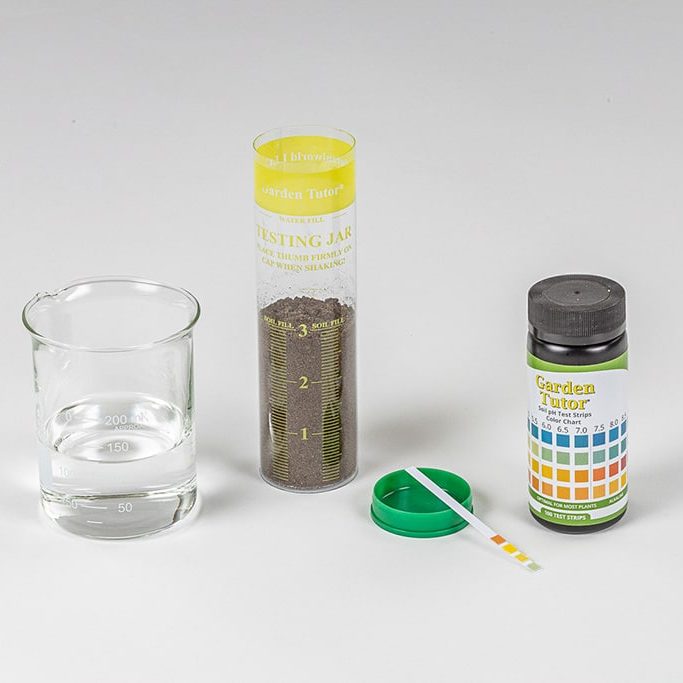
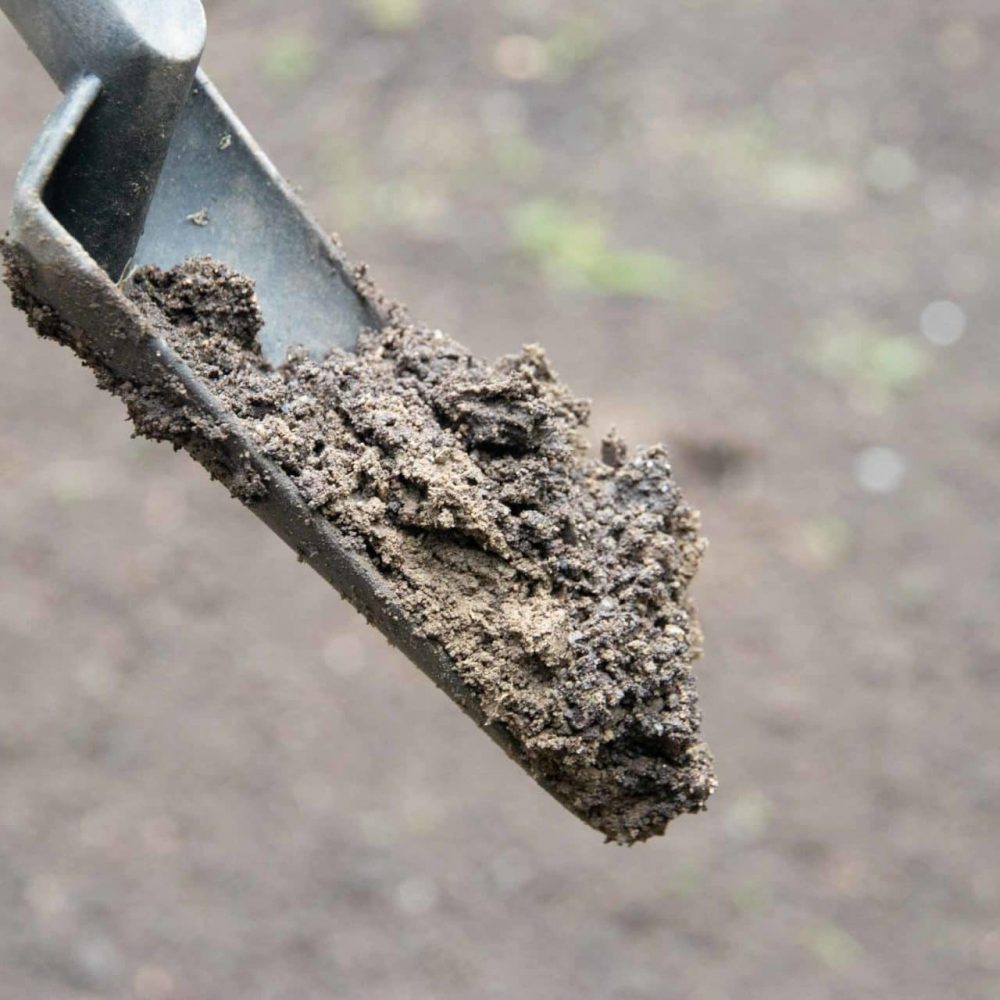
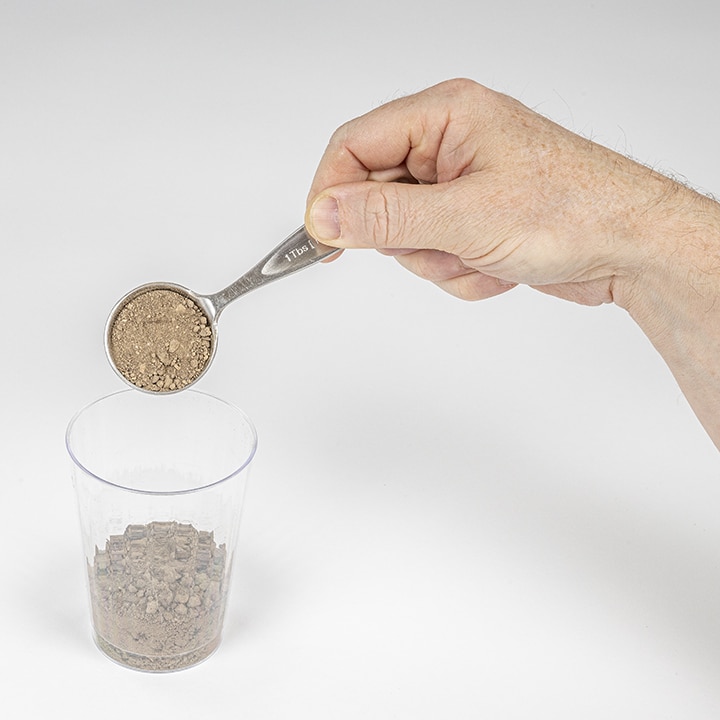
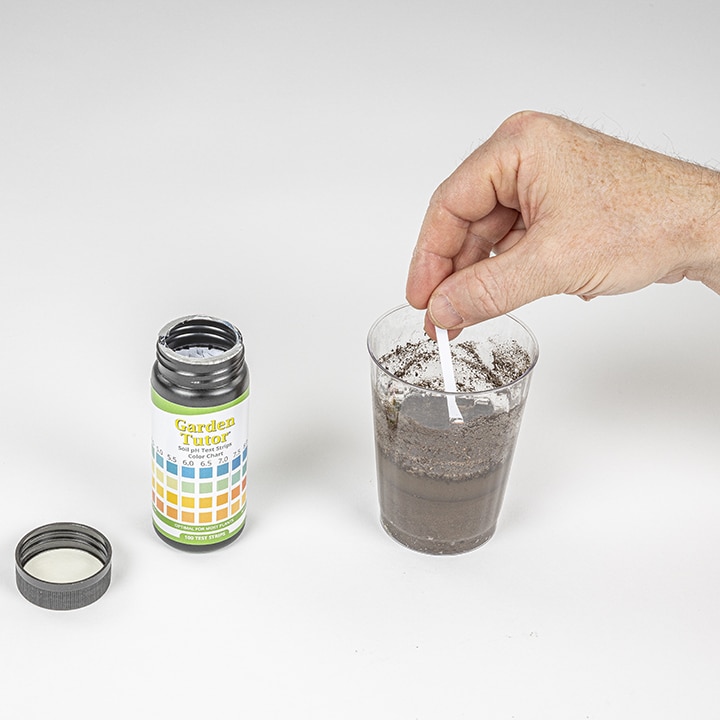
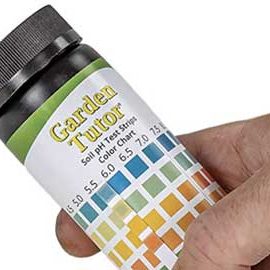
The pH test is a simple indicator test requiring some soil, water (use distilled water for best results), a clean cup or jar, and a Garden Tutor pH test strip. The Garden Tutor pH test strips cover a pH range of 3.5 to 9.0 in .5 increments. Each pH test strip has three pads that change color depending on the pH of the test material. Each pad on the pH test strip covers a specific segment of the pH range. Having three pads helps with accuracy since a pH range of 3.5-9 is broad and the color changes can be subtle and difficult to determine.
Garden Tutor pH test
Optimal pH Levels for Specific Plants by Plant Type
Adjusting Soil pH
Before you can adjust your soil pH you should know your soil type (Sand, Silt, Clay or Loam). Your soil type can affect the quantity of pH amendment (lime or sulfur) you use. This due to the “buffer capacity” of the soil which is a measure of how well soil can resist changes in pH. For example, clay soils have a high buffer capacity and require more lime than other soil types to alter pH. Clay soils require more work to alter pH but once you change them the effects will last longer so you don’t need to add lime as frequently. You should also be aware that it takes a lot of amendments to change pH. If you need a more acidic soil you can use sulfur or naturally acidic organic materials (peat moss, leaves or needles from acidic plants). If you use organic material the pH change will be very gradual; if you are in a hurry you may opt for sulfur. It is best not to use commercial plant acidifiers containing aluminum sulfates or fertilizers containing ammonia to alter soil pH; they are best used only to maintain plants already growing in acidic soil, and misuse can ruin your soil.
The best way to raise soil pH is to add lime. Lime is readily available and easy to apply. You may have a few types of lime to choose from depending on what retailers in your area carry. Pulverized or pelletized limestone is usually a good choice (pelletized lime can be used in a broadcast spreader). Dolomitic limestone is limestone which contains magnesium and a few other trace nutrients. You can use ground limestone, just be aware that it is a powder, and powders are harder to apply with a broadcast spreader. Hydrated limes are also available; they work quickly but can burn plants and flesh if used incorrectly. In any case, be sure to follow the application rates and package instructions strictly. If you add too much at one time you can harm your plants and your soil.
Below is a handy soil pH adjustment calculator that you can use to determine how much lime or sulfur is needed to raise or lower your soil pH. Just note if the amounts of lime or sulfur from our calculator disagrees with the label on the product you buy, always go with the manufacturer guidelines. Adjusting soil pH with lime and sulfur is not permanent so you’ll need to recheck soil pH every year or two and make adjustments as necessary. The degree and duration of the change depends on how finely ground the amendments are (lime and sulfur). The more finely ground (e.g. pulverized) the faster they alter pH but shorter their effects last (generally 1-2 years depending on your climate). Note that pelletized lime is finely ground but aggregated with a binding agent to form easy to spread pellets. It is best to apply lime and sulfur in the fall or early spring, so they can start working on your soil before you plant.
Additional pH Test Support:
If you encounter issues with color pads, follow these steps to accurately determine your soil pH:
Before you begin, make sure to have followed the detailed instructions in the Garden Tutor Soil pH Testing Handbook and you are following the guidance below as these are common reasons people get mixed results:
- Soil-Specific Calibration:
- Garden Tutor pH test strips are calibrated for soil only, specifically a slurry made of equal parts soil and distilled water.
- Do not use these strips for testing urine, saliva, water, pools/spas, or other liquids like cleaners, acids, foods, beverages, soaps, and caustics.
- Water Quality:
- Ideally, use distilled water to make your soil/water slurry. Most municipal (tap water) sources are generally fine to use. However, hard or soft water can affect test results. If you have a well or use a water softener you should use distilled water for the test.
- Slurry Preparation:
- Let the soil slurry sit for at least 30 minutes, ideally a few hours, before testing. Some soils need to sit overnight. This step conditions the mixture and ensures you are getting the true pH of the soil. This is one of the main reasons people get mixed results. Skipping this step can lead to the colors not being fully aligned with the chart.
- Mix it again just before testing.
- Testing Procedure:
- Dip the pH strip briefly into the slurry and wait one minute before comparing it to the color chart.
- Lighting Conditions:
- Compare the color chart and pH strip in a well-lit room, preferably by a sunlit window.
- Strip Usage:
- Discard used pH test strips after 3-4 minutes as they begin to fade.
- Always reseal the container after removing a strip to prevent moisture exposure.
- Color Matching:
- Variations in printing and soil minerals can cause slight discrepancies in color.
- Match all three color pads in a column to determine the best overall pH.
- Staining Issues:
- If soil stains the color pads, use the “Coffee Filter Technique” available here.
Need more help?
Email a picture of your results to info@gardentutor.com for assistance.
Garden Tutor pH Test Strips Examples
